How I Film My Walks | My Camera, Mic & Editing Gear Revealed!
The Magic Behind the Miles
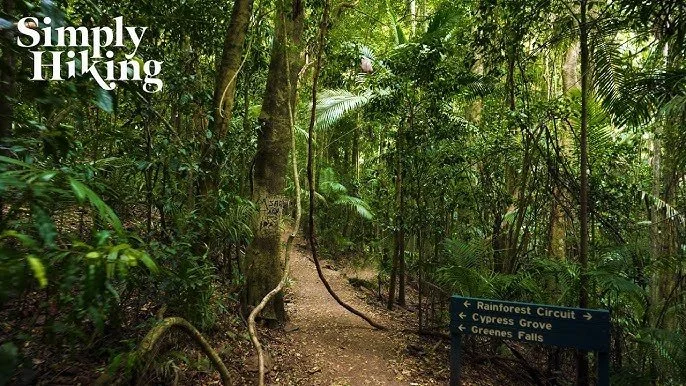
You see the finished videos – the stunning 4K trails, the pure nature sounds, and hopefully, you feel like you're right there with me. But I get asked all the time: "How do you do that?" Well, today, I'm pulling back the curtain! It's not just me and a pair of hiking boots; there's some trusty gear that helps bring these immersive walks from the trail to your treadmill.
Capturing the View: My Camera Setup
For Simply Hiking, it's all about that first-person (POV) perspective. I want you to feel like you're walking the trail. That means I need a camera that's tough, portable, and can capture incredible 4K detail with amazing stabilization.
My go-to is the DJI Osmo Pocket 3. This little powerhouse is perfect because it's super compact, has fantastic built-in stabilization (which is crucial for smooth walking footage!), and captures that crisp 4K video you see. It's small enough to fit in my pocket, so it doesn't get in the way when I'm actually hiking.
Want to see the results? Check out my latest video from the Pacific Crest Trail – all filmed with this kind of setup!
The Secret to Pure Sound: My Microphone Setup
You know my videos are all about pure nature ambience – no talking, no music. That means the audio gear is just as important as the camera! I want you to hear every rustle of leaves, every bird call, every distant waterfall exactly as I did.
For that, I rely on the RODE VIDEOMIC GO II. This compact shotgun microphone is fantastic for capturing clear, directional audio while still picking up the surrounding ambience. It's lightweight and easy to mount, which is essential when you're out on the trail. I often use it to capture those crisp footsteps and the natural sounds of the environment.
Now not all videos are recorded with an external microphone set up. When I'm travelling light I actually use the inbuilt microphones on the DJI Osmo Pocket 3 which are pretty great!
The Engine Room: Laptop & Software for 4K Editing
Once I'm back from the trail, the real work begins! Editing 4K video, especially long, immersive footage, requires a powerful machine and the right software.
My Laptop: I need something with a strong brain (CPU), a good graphics card (GPU), plenty of memory (RAM), and fast storage. Think of it as the powerhouse that processes all those beautiful pixels and sounds. I look for at least an Intel Core i7 or AMD Ryzen 7 processor, a dedicated NVIDIA GeForce RTX or AMD Radeon RX graphics card, and ideally 16GB (or more!) of RAM. A fast SSD (Solid State Drive) is a must for quick file transfers and smooth editing.
My Software: For editing, I use Adobe Premiere Pro. It's a professional-grade tool that lets me stabilize shaky footage, fine-tune the colors to make the scenery pop, and carefully balance the ambient sounds. For creating those eye-catching thumbnails you see on YouTube, I use Adobe Photoshop.
Want to know more about what makes a good treadmill companion? Check out this post!
Conclusion: It’s not at all technical
So, that's a little peek into the gear that helps bring Simply Hiking to life! While the tech is important, my main goal is always to capture the raw beauty and authentic sounds of the trail so you can truly feel like you're there.
I hope this helps you understand a bit more about what goes into each video. Now that you know the secrets, why not pick a new adventure?
Subscribe to Simply Hiking on YouTube or start your walk now on our trails library to find your next journey!
https://youtube.com/shorts/O81MwwiZR88?feature=share